Quick Start Guide – ToneNET
ToneNET lets you create your own music profile where you can upload audio demos, add music links and interact with other users. Consider it your new home base for promoting music and getting immediate feedback from fellow players.
You can also simply enjoy what’s happening around you by listening to, liking and following other ToneNET members. However, if you want to download and use the presets on the platform and get the most out of it, you will need AmpliTube 5. Here’s a quick start guide on how to use ToneNET and how to download presets.
Step 1 - Update or Download AmpliTube 5
Launch the Product Manager: Log in to the IK Product Manager and use your IK account credentials. Log in to the IK Product Manager.

After you log in to the IK Product Manager select My Products.

Select the Software tab and click Install AmpliTube 5.
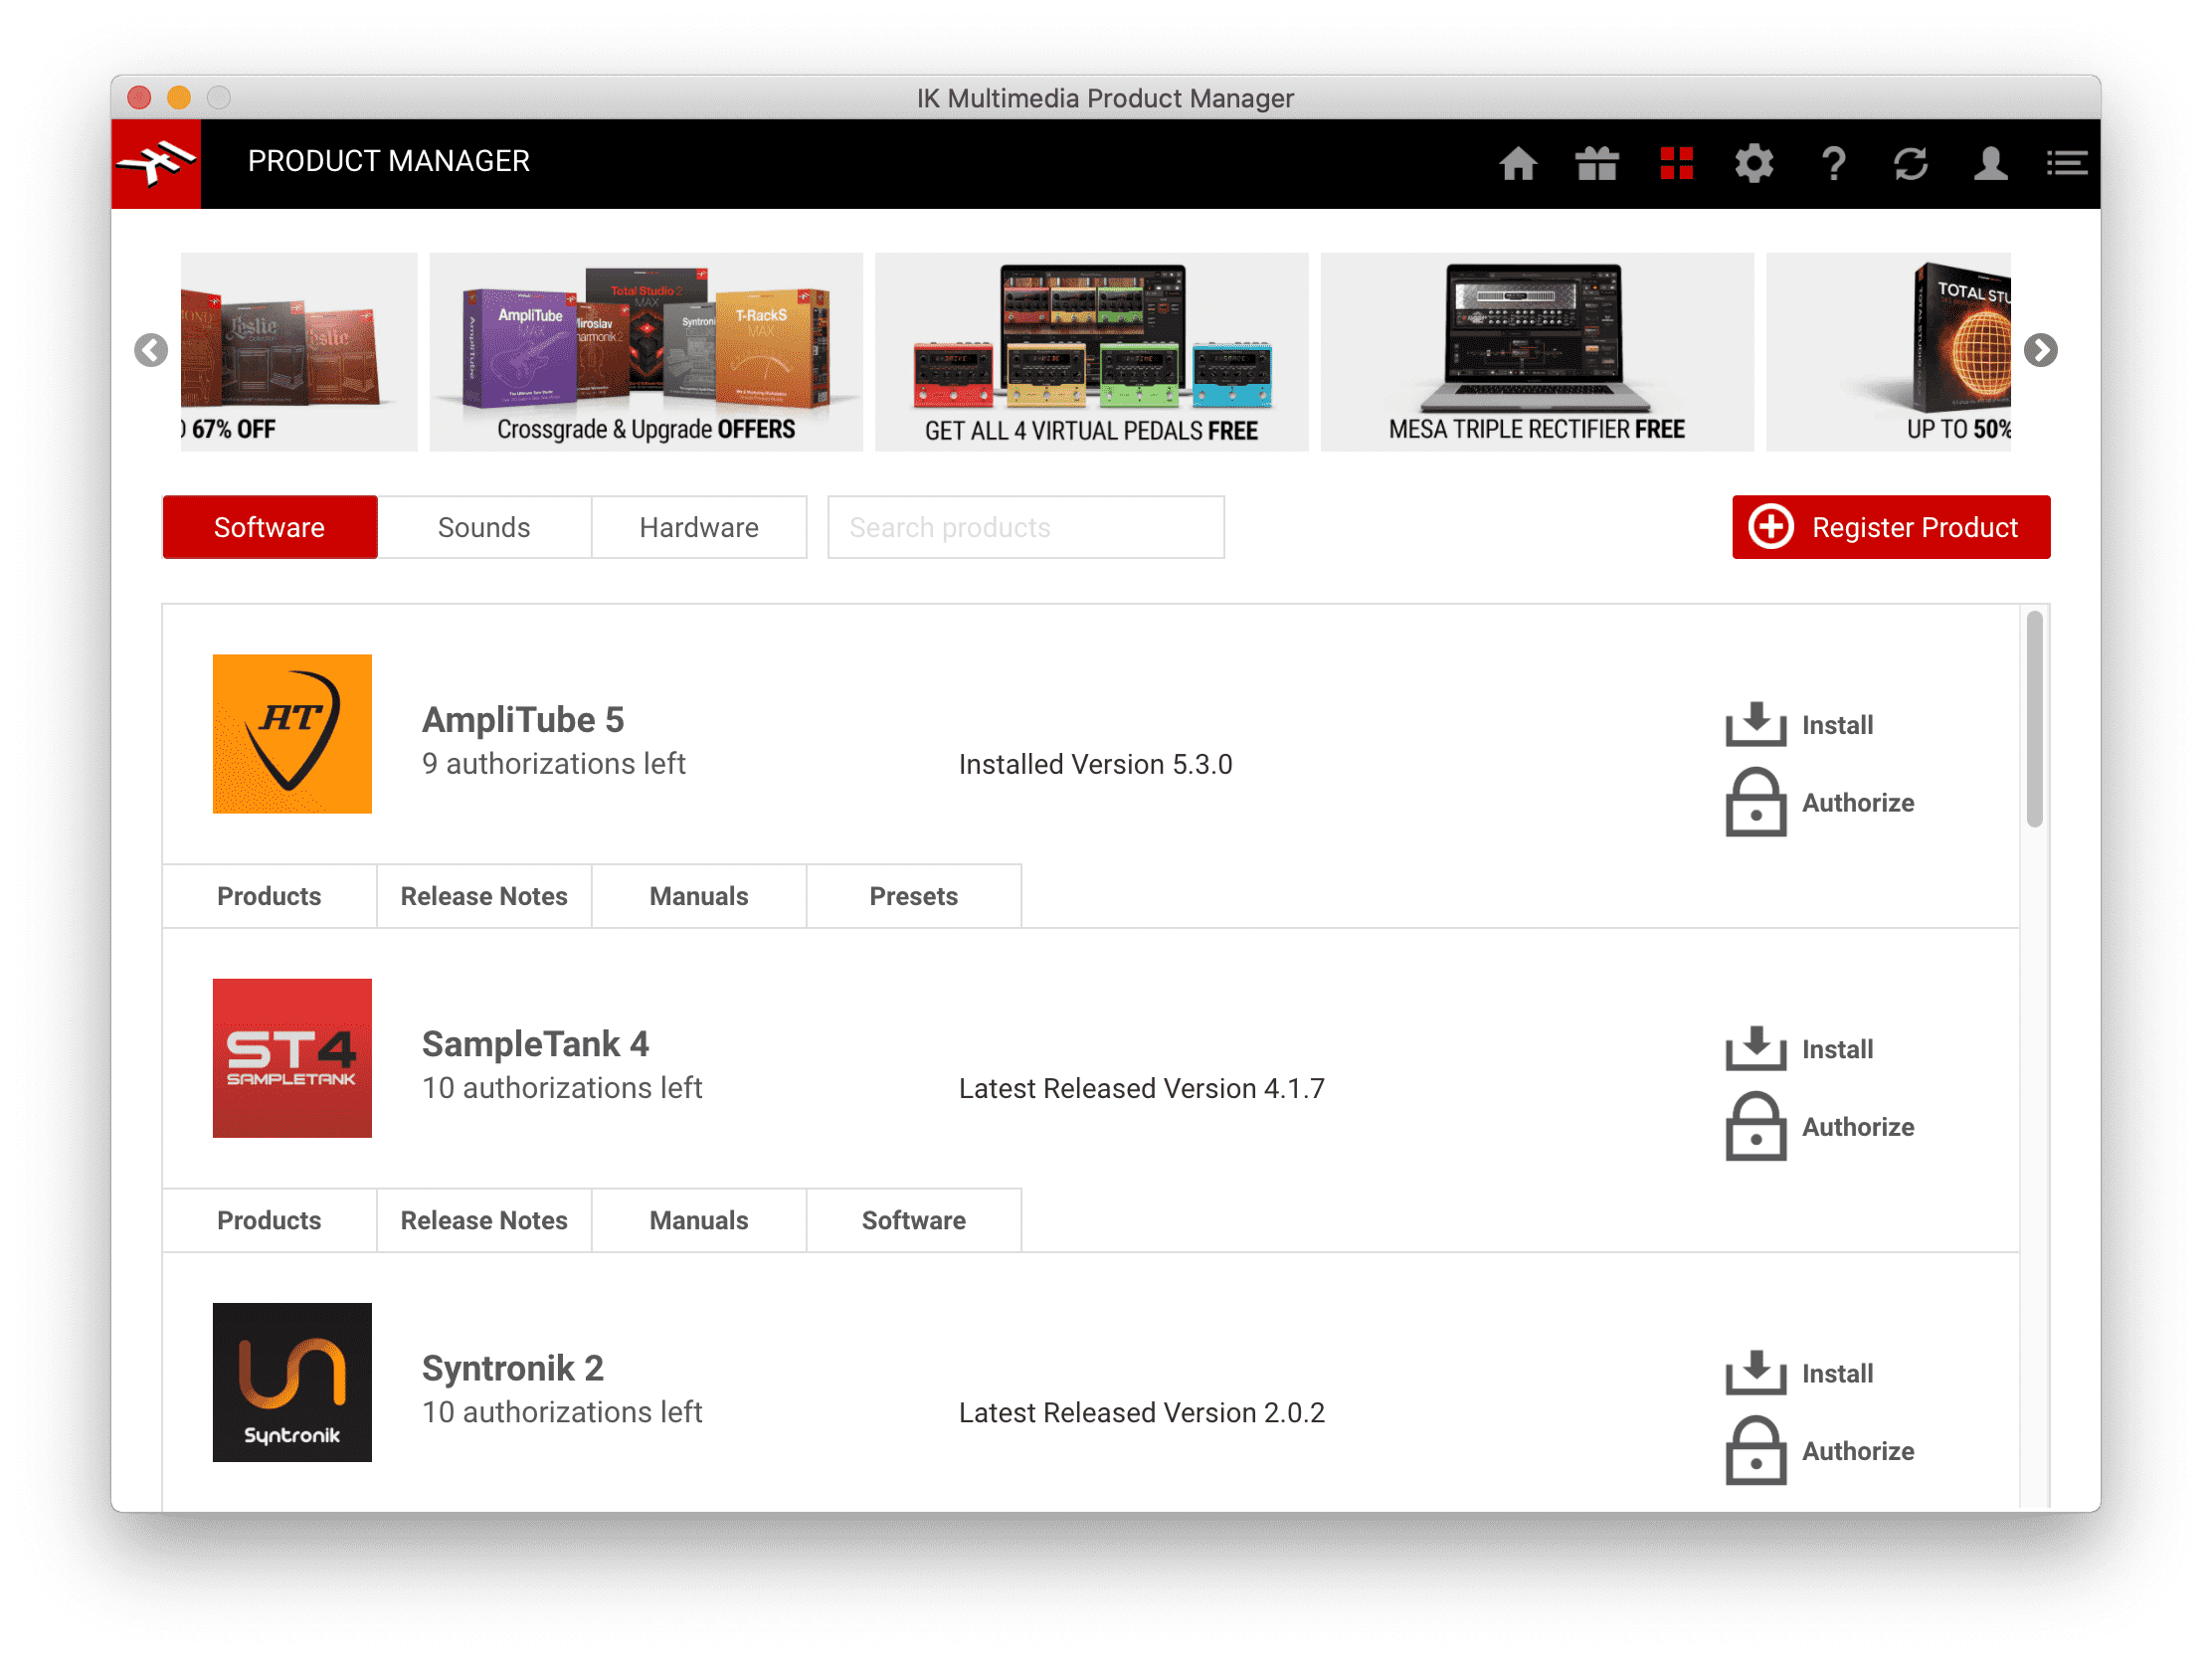
Wait for the installation to complete.
After installation is done, select authorize in the IK Product Manager.
Step 2 - Access ToneNET Inside AmpliTube 5
Launch AmpliTube 5.

Click on the ToneNET button positioned at the upper-right corner of AmpliTube 5.
Please note: The green light inside the ToneNET button indicates that you are connected to the Internet and your IK account is logged into the IK Product Manager. If the light is red, there is no Internet connection or you are not logged in to the IK Product Manager. Make sure you repeat the steps mentioned above.

Once you have access to ToneNET inside AmpliTube 5, you can navigate the feed where posted presets are displayed. Presets are arranged vertically here according to the date of publication with the most recent at the top. The feed shows 25 presets at a time and autoloads new presets while scrolling down the matrix.

2.1 Saving a Preset
Select a preset from the feed and click on the download icon positioned in the top bar of AmpliTube 5 ToneNET interface.
A pop-up window will open up. From here you can insert metadata and save the preset on your computer for offline use.


After saving, you can close the ToneNET tab and find the saved preset in the AmpliTube 5 preset browser.
2.2 Share a Preset on ToneNET
From the AmpliTube 5 preset browser, select the preset you want to upload and click on the share icon positioned in the top bar of AmpliTube 5 ToneNET interface.

Please note:
- Presets containing gear you have not purchased cannot be shared on ToneNET.
- AmpliTube 4 presets cannot be shared on ToneNET.
A pop-up window will open up. From here you can insert metadata and share the preset on ToneNET.

Metadata: Here you can type metadata to enrich the info on your preset. In the “Note” section you can insert a description of the preset and a comment to another ToneNET user (using the “@”) or a hashtag. Make sure you fill in as much data as you can. Our algorithm will detect the preset using a wide range of data, including the completeness of the information provided in the metadata.
Social Links: To add a YouTube video, paste the video link in the YouTube field. Make sure you paste a link that can be shared (not private) otherwise it will not be recognized.

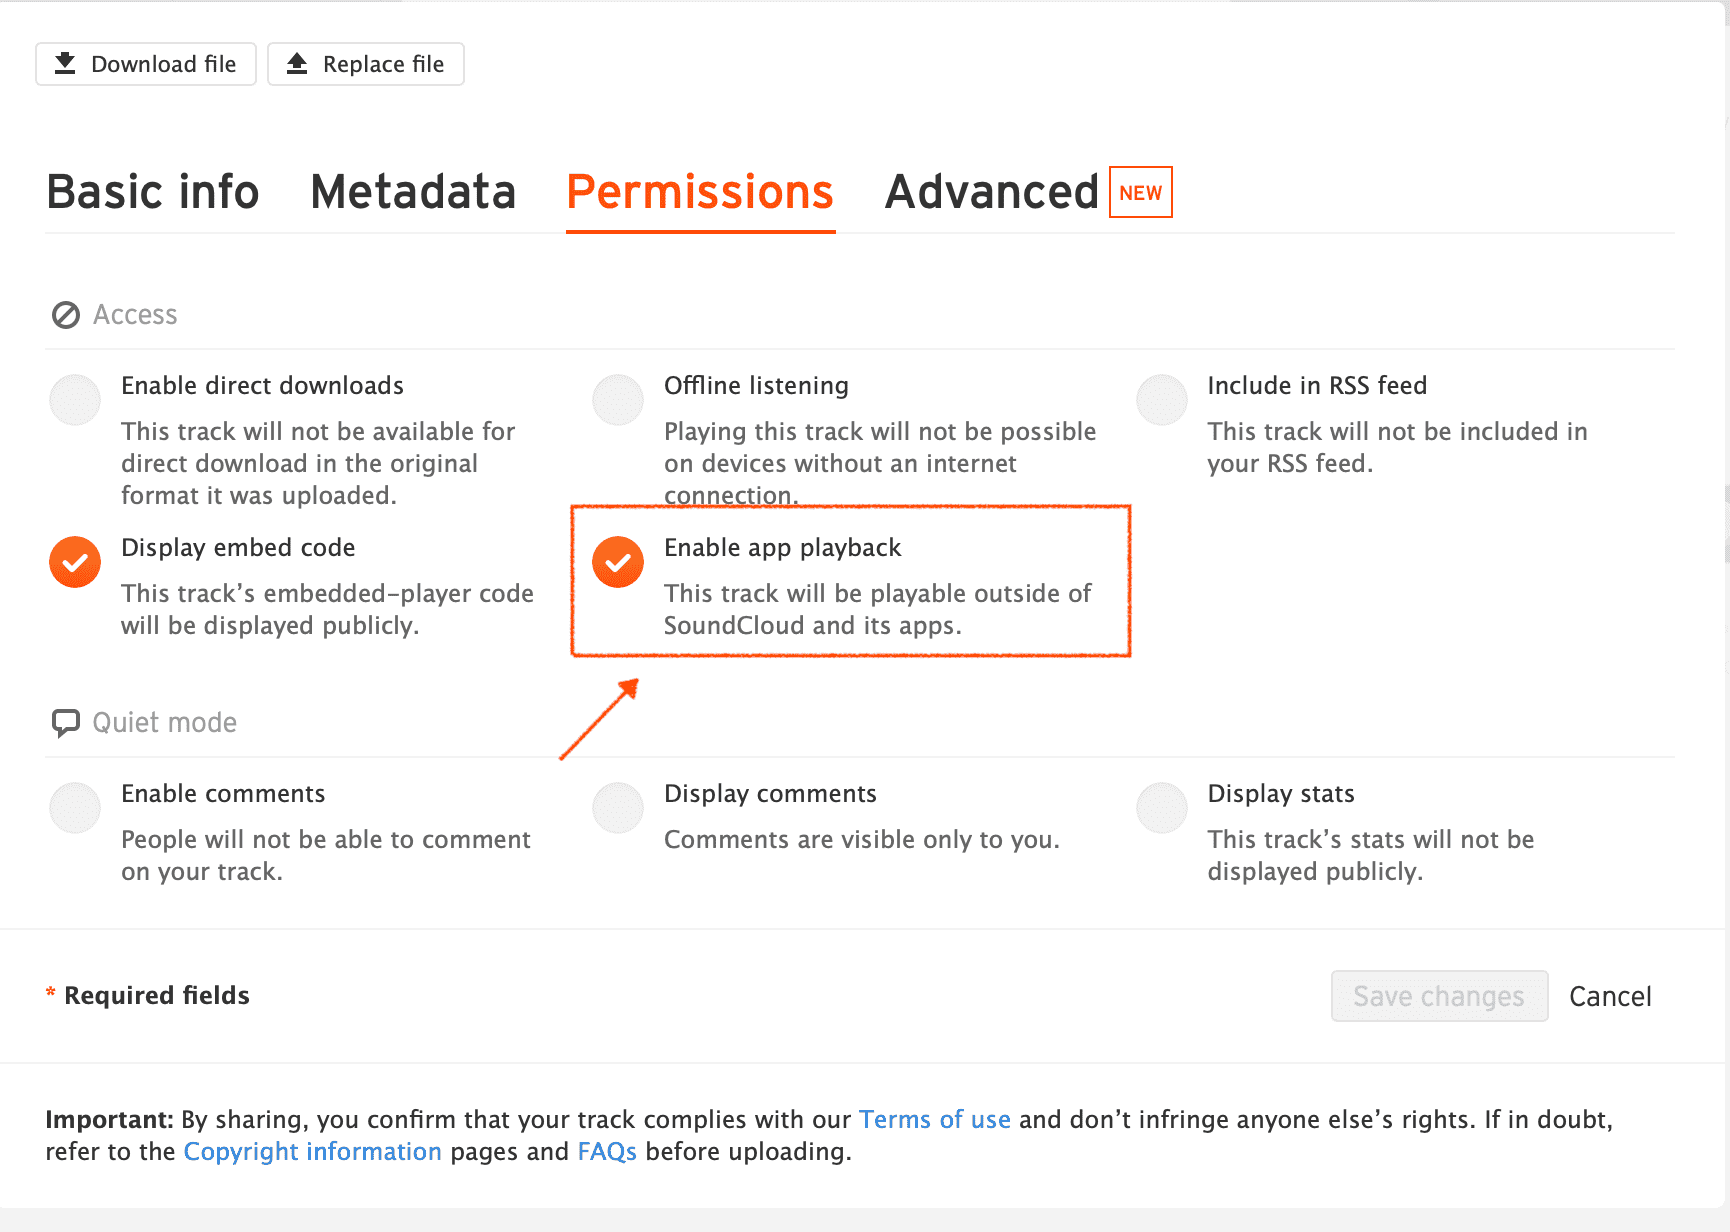
To add a SoundCloud file, copy/paste a song link into the SoundCloud field. You can use the “Copy Link” button in SoundCloud to easily paste a link into the SoundCloud field.


Make sure you paste a link that can be shared (not a private track) and to set the permissions in order to allow external playback as shown in the image below.
Audio Demo: In the last portion of the sharing pop-up window you can choose to upload an audio demo or to record one from scratch. The audio demo will be attached to your preset so that other ToneNET users can hear the preset before trying.
Each audio demo can be a maximum of 30 seconds long. If you choose to record an audio demo, click on the record icon to start the recording. A countdown of 3 seconds will begin before the recording starts.
If you choose to upload an audio file instead, click on Add File and a system dialog will open up. The accepted formats are: *.wav *.aiff and *.aif. Choose the file from your computer and click OK. If you want your file to be processed by the AmpliTube chain click on the “DI” button.
After you recorded or uploaded an audio demo insert the Recording Artist Name in the dedicated field or the audio will not be uploaded.

Please note:
- Only *.wav *.aiff and *.aif formats will be recognized. If you try to upload a different file format the system will block the process.
- For copyright reasons, the audio demo feature is currently available for US-only users. Non-US users can use the SoundCloud and YouTube sharing option to provide audio examples of the preset.
Icon: Choose a gear icon for reference. This icon will be shown in the preset card on www.Tone.NET and on the AmpliTube 5 feed

Step 3 – Using ToneNET web platform
Click on the browser icon on AmpliTube 5 to open up your browser on www.Tone.NET

Here’s the ToneNET preset feed:
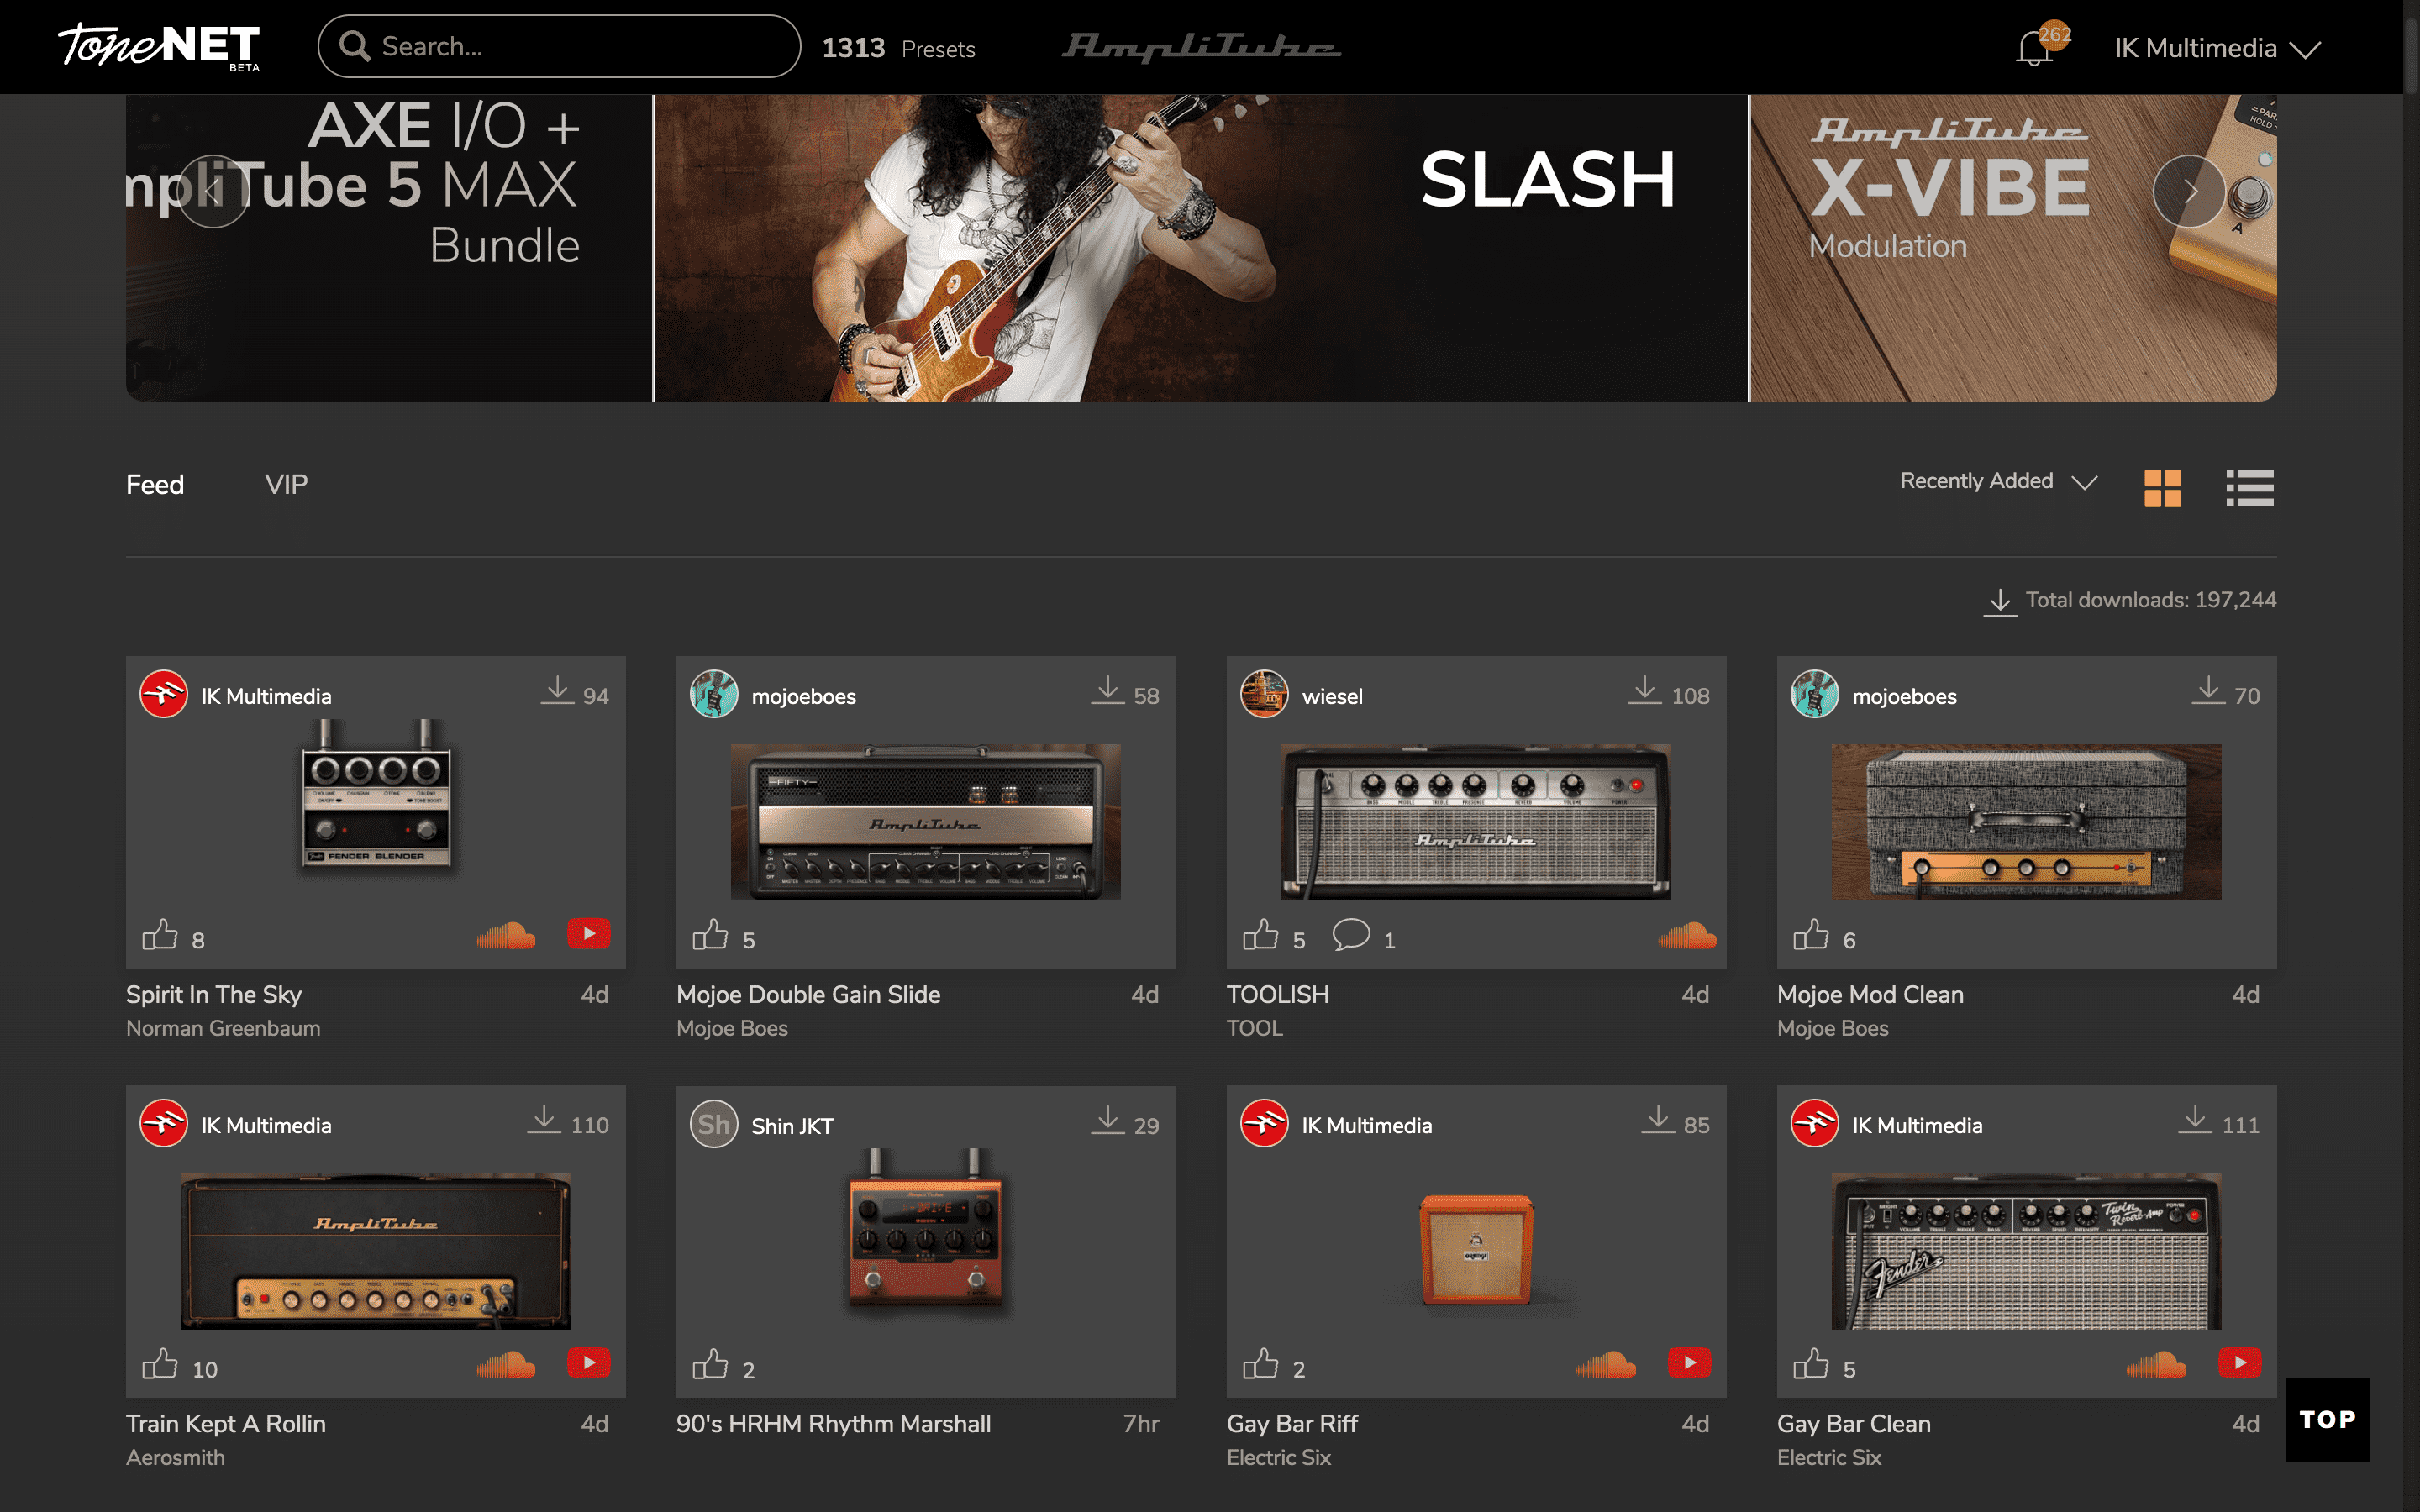
Using the sorting options menu you can choose to sort presets on the feed by:
- Most recent
- Most popular
- Most liked
- Alphabetical order

3.1 Card and List views
Click on the “View” icons to display presets as cards or in a vertical list.

Card View

List View

3.2 Like and Download Presets
Whenever you find a preset you like on the ToneNET web platform, simply click on the Like icon and it will automatically be saved inside the “Liked Presets” AmpliTube 5 folder.
Click the Like button on the preset you want to save inside AmpliTube 5 ToneNET.
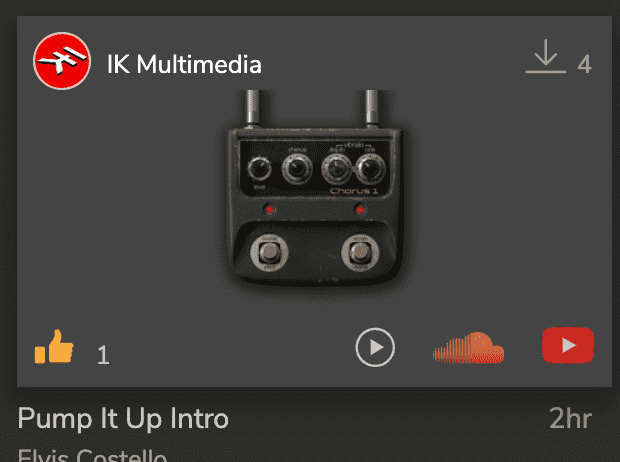
Go to the “Liked Presets” folder in AmpliTube 5 and find the saved preset.
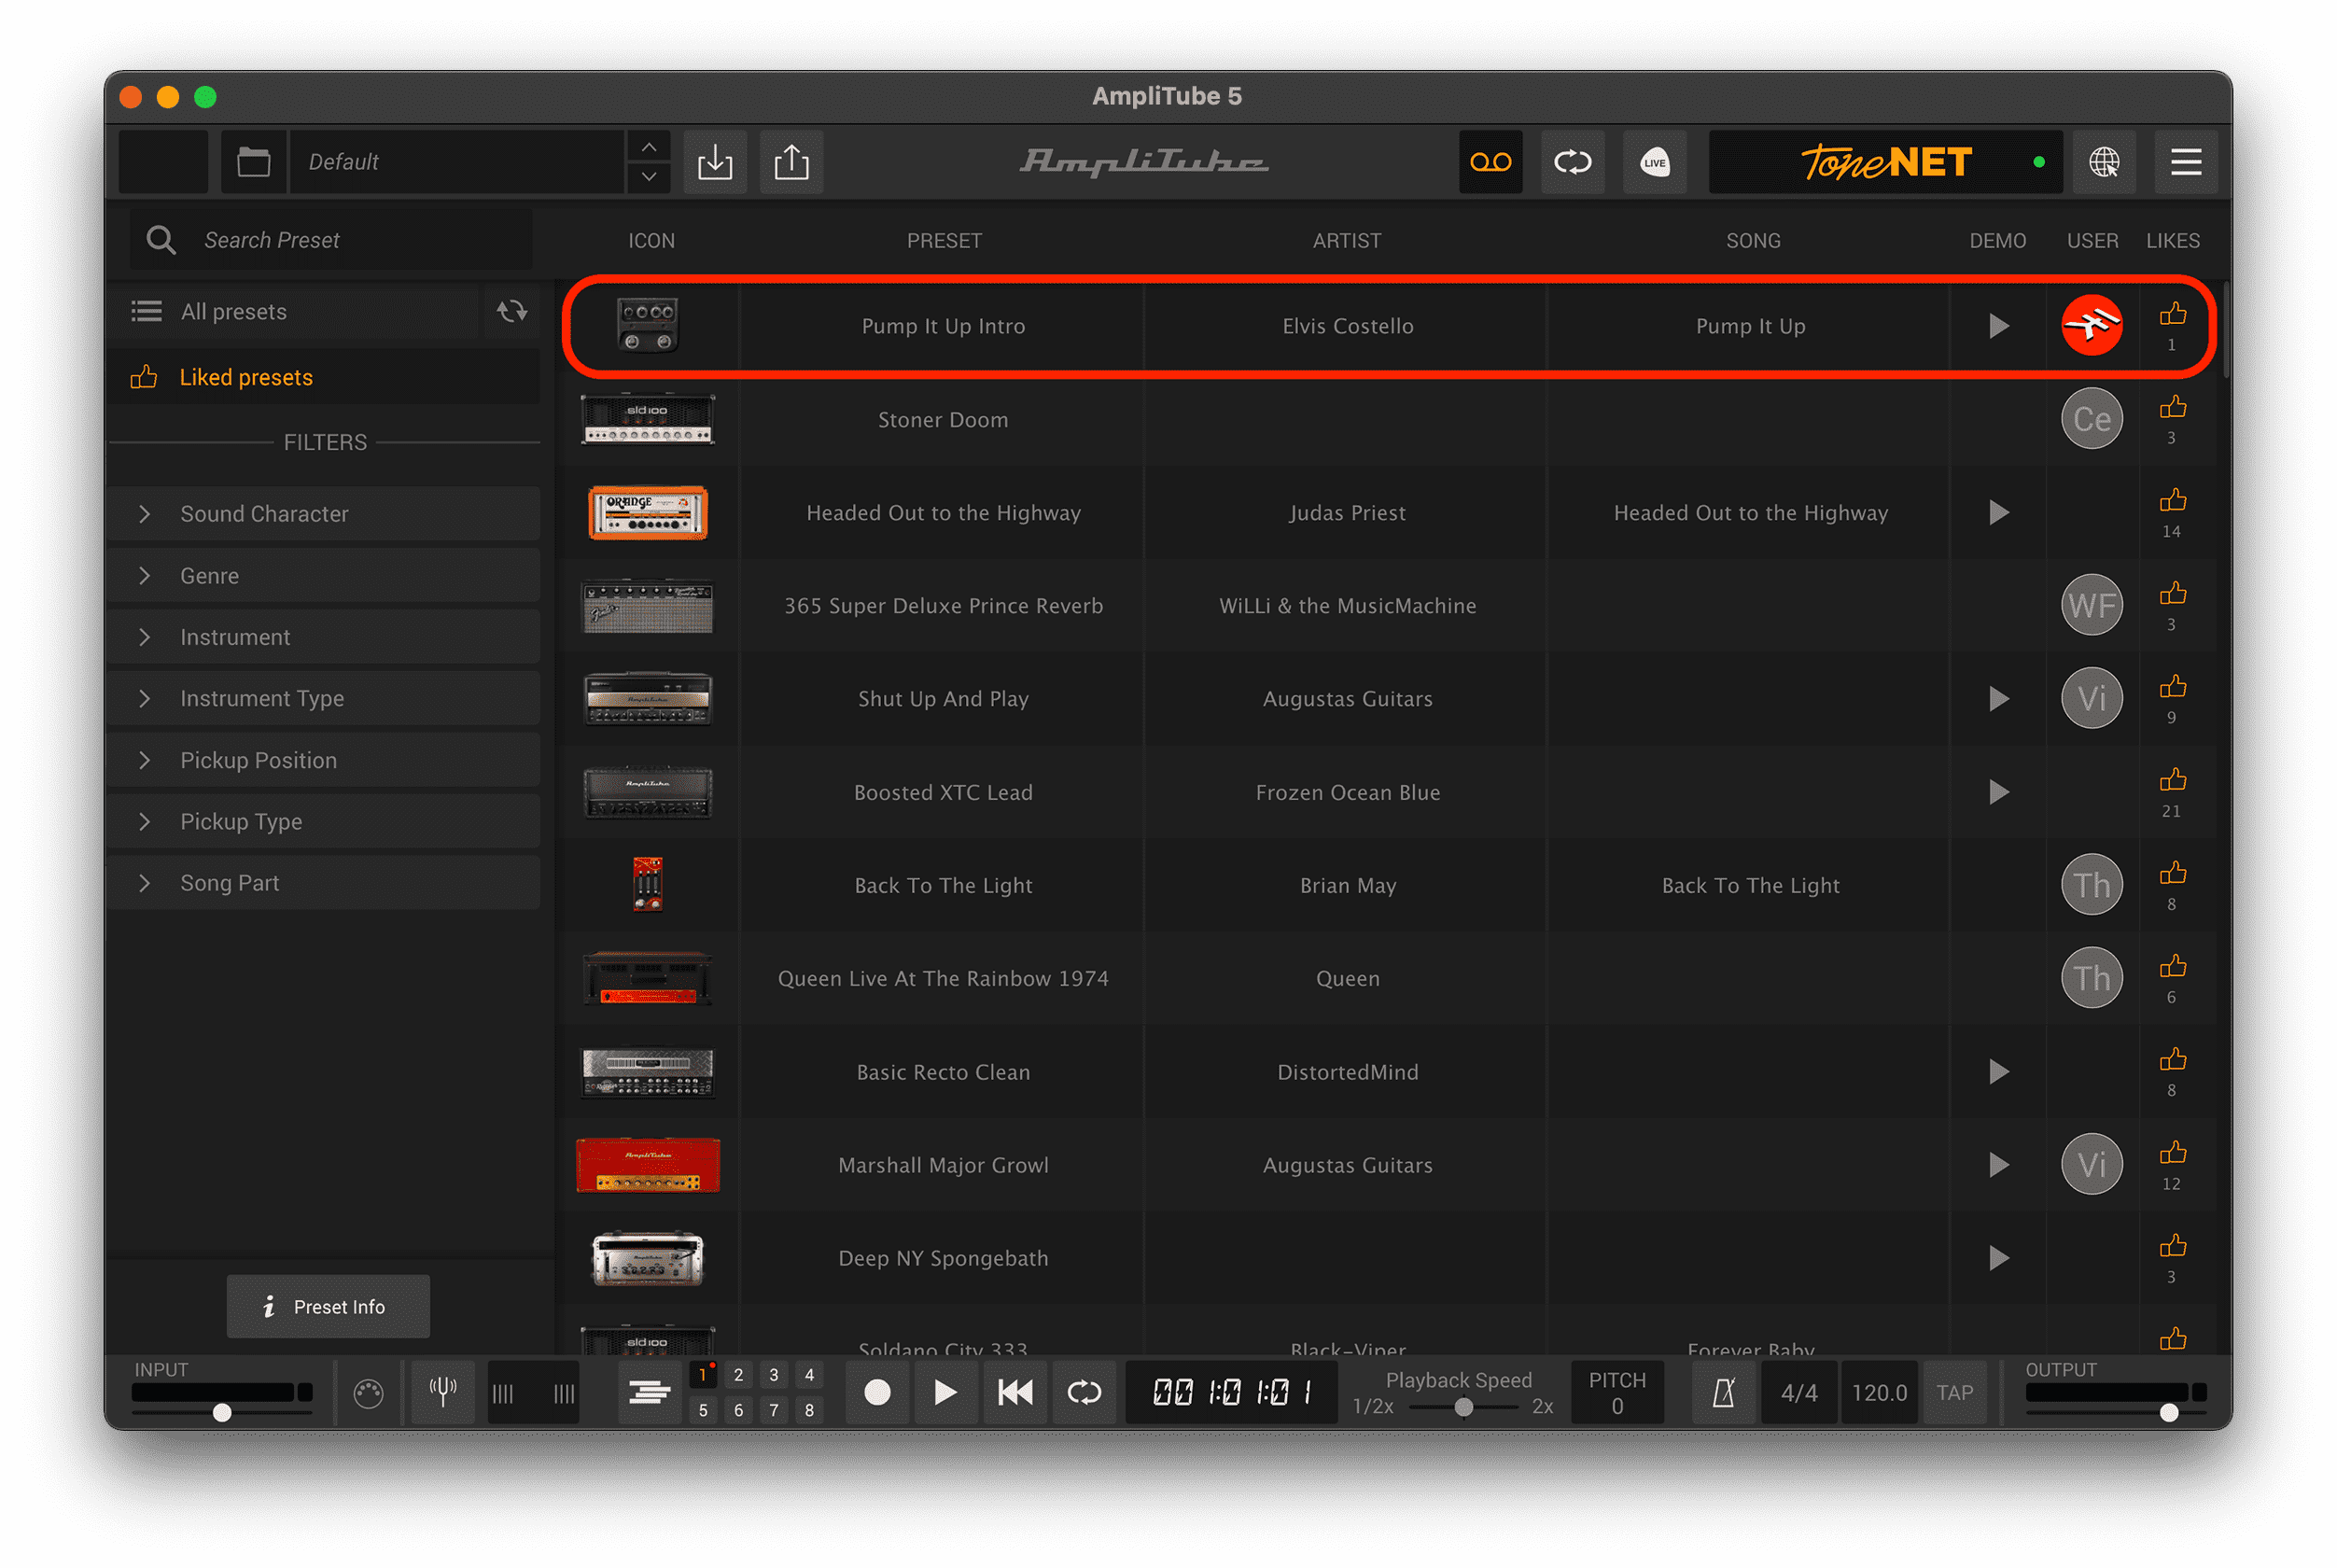
The preset is now saved into your Liked Presets folder and you can access it whenever you want by simply logging in to ToneNET. If you want to save it for offline consultation, click on the Saving icon in the AmpliTube 5 top bar and save it on your computer.

3.3 User Profile
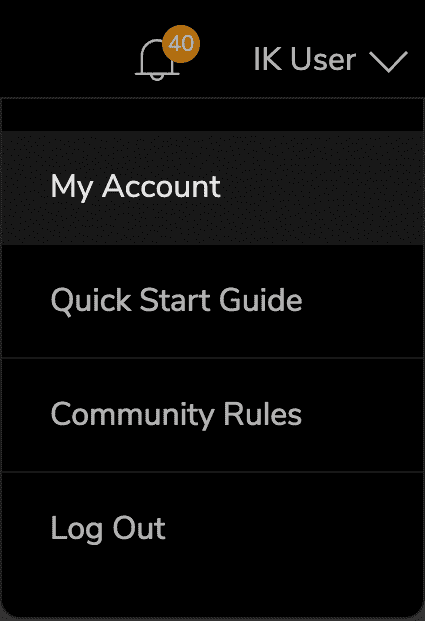
In the user menu, click on My Account to access your ToneNET profile.
From here you can access all the presets you liked and all the presets you shared, and also edit your profile information.
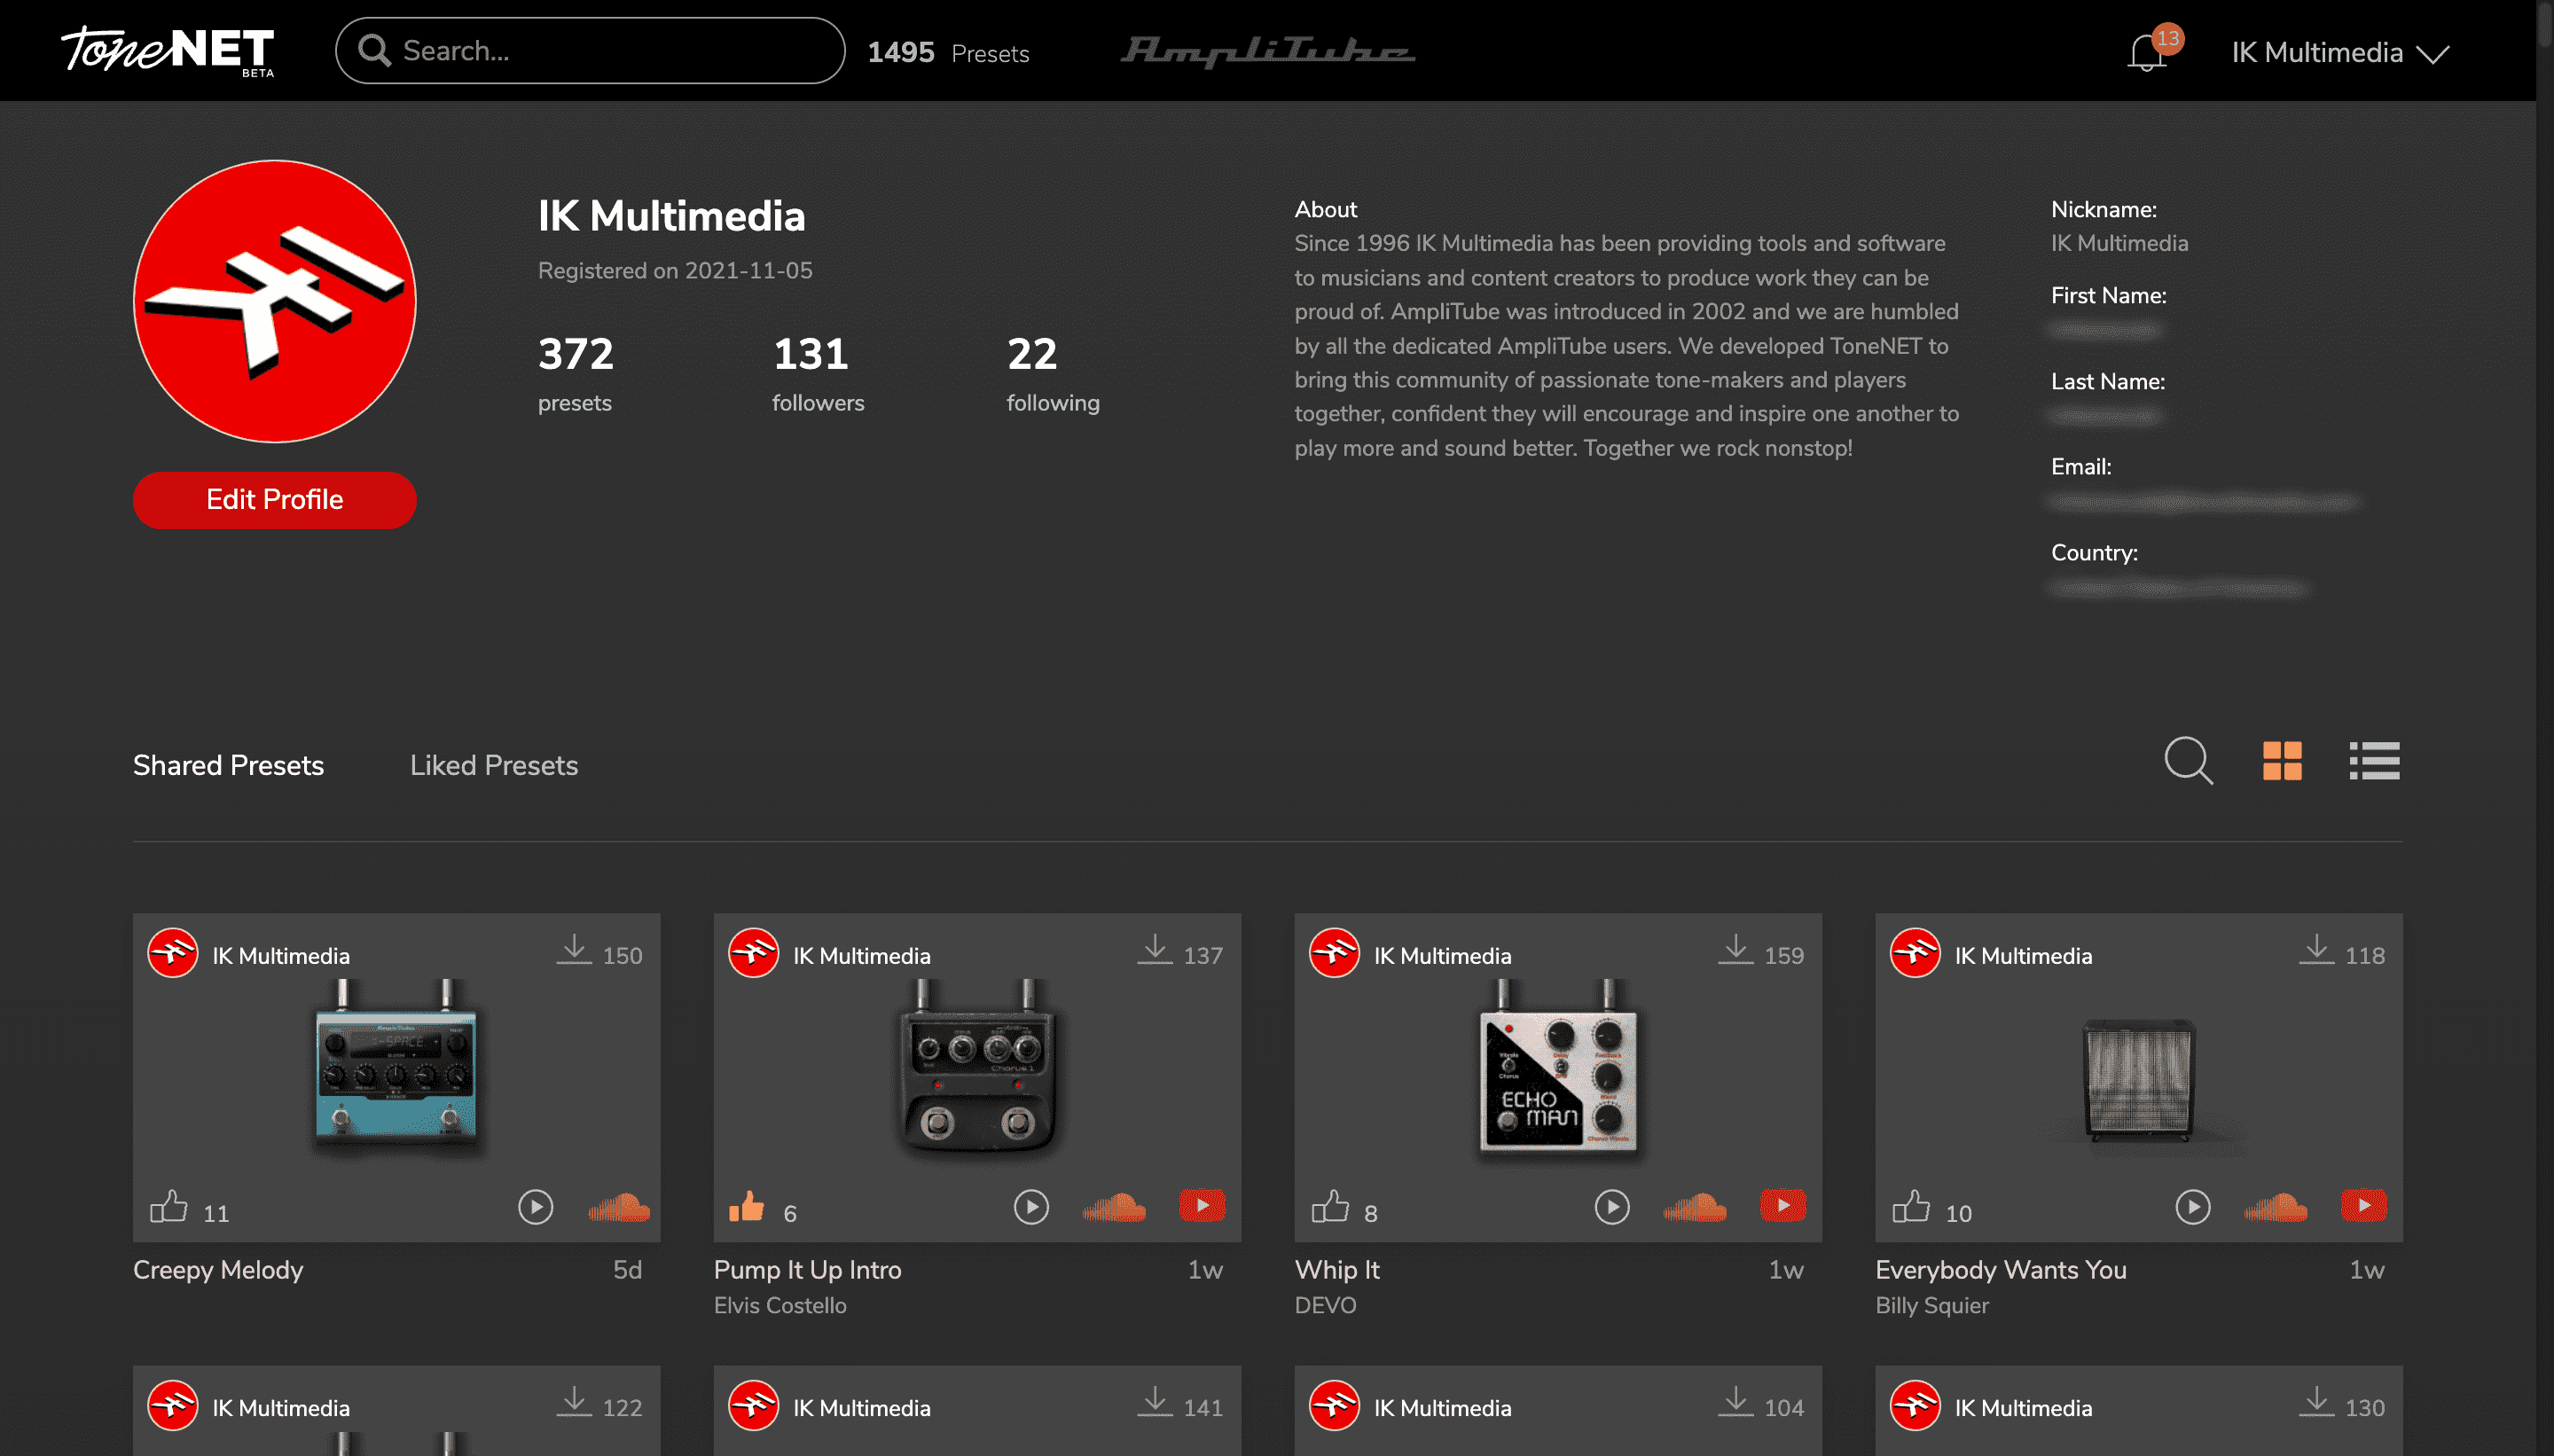
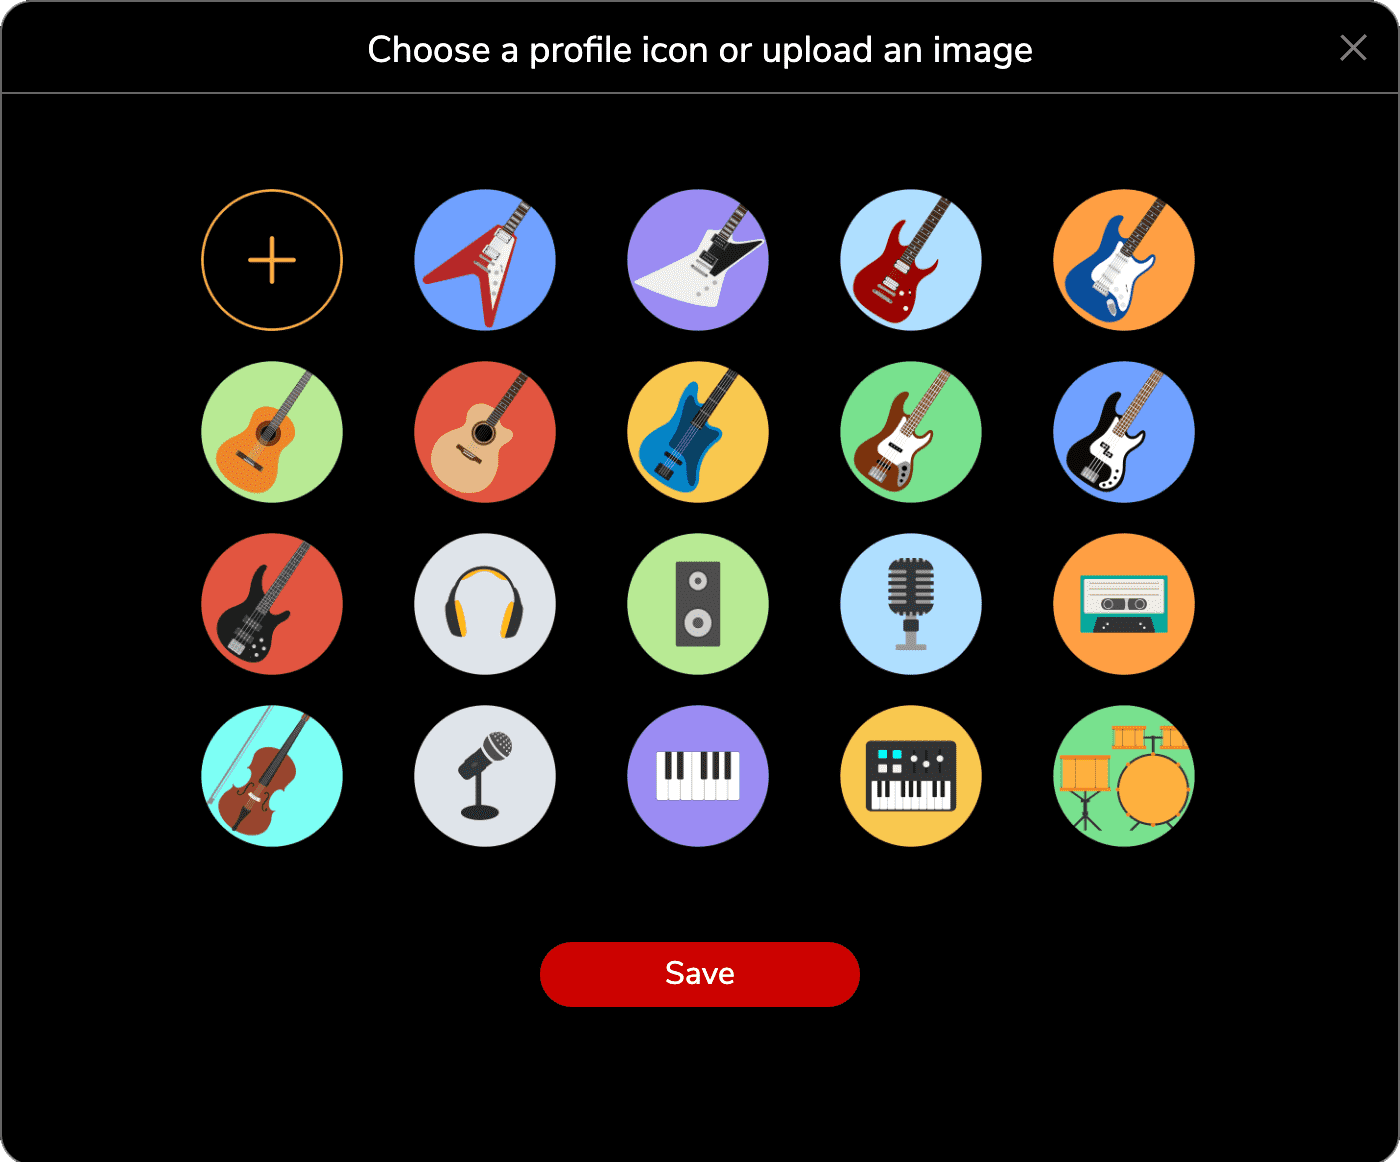
Click on Edit Profile to edit your profile information or change your profile image.
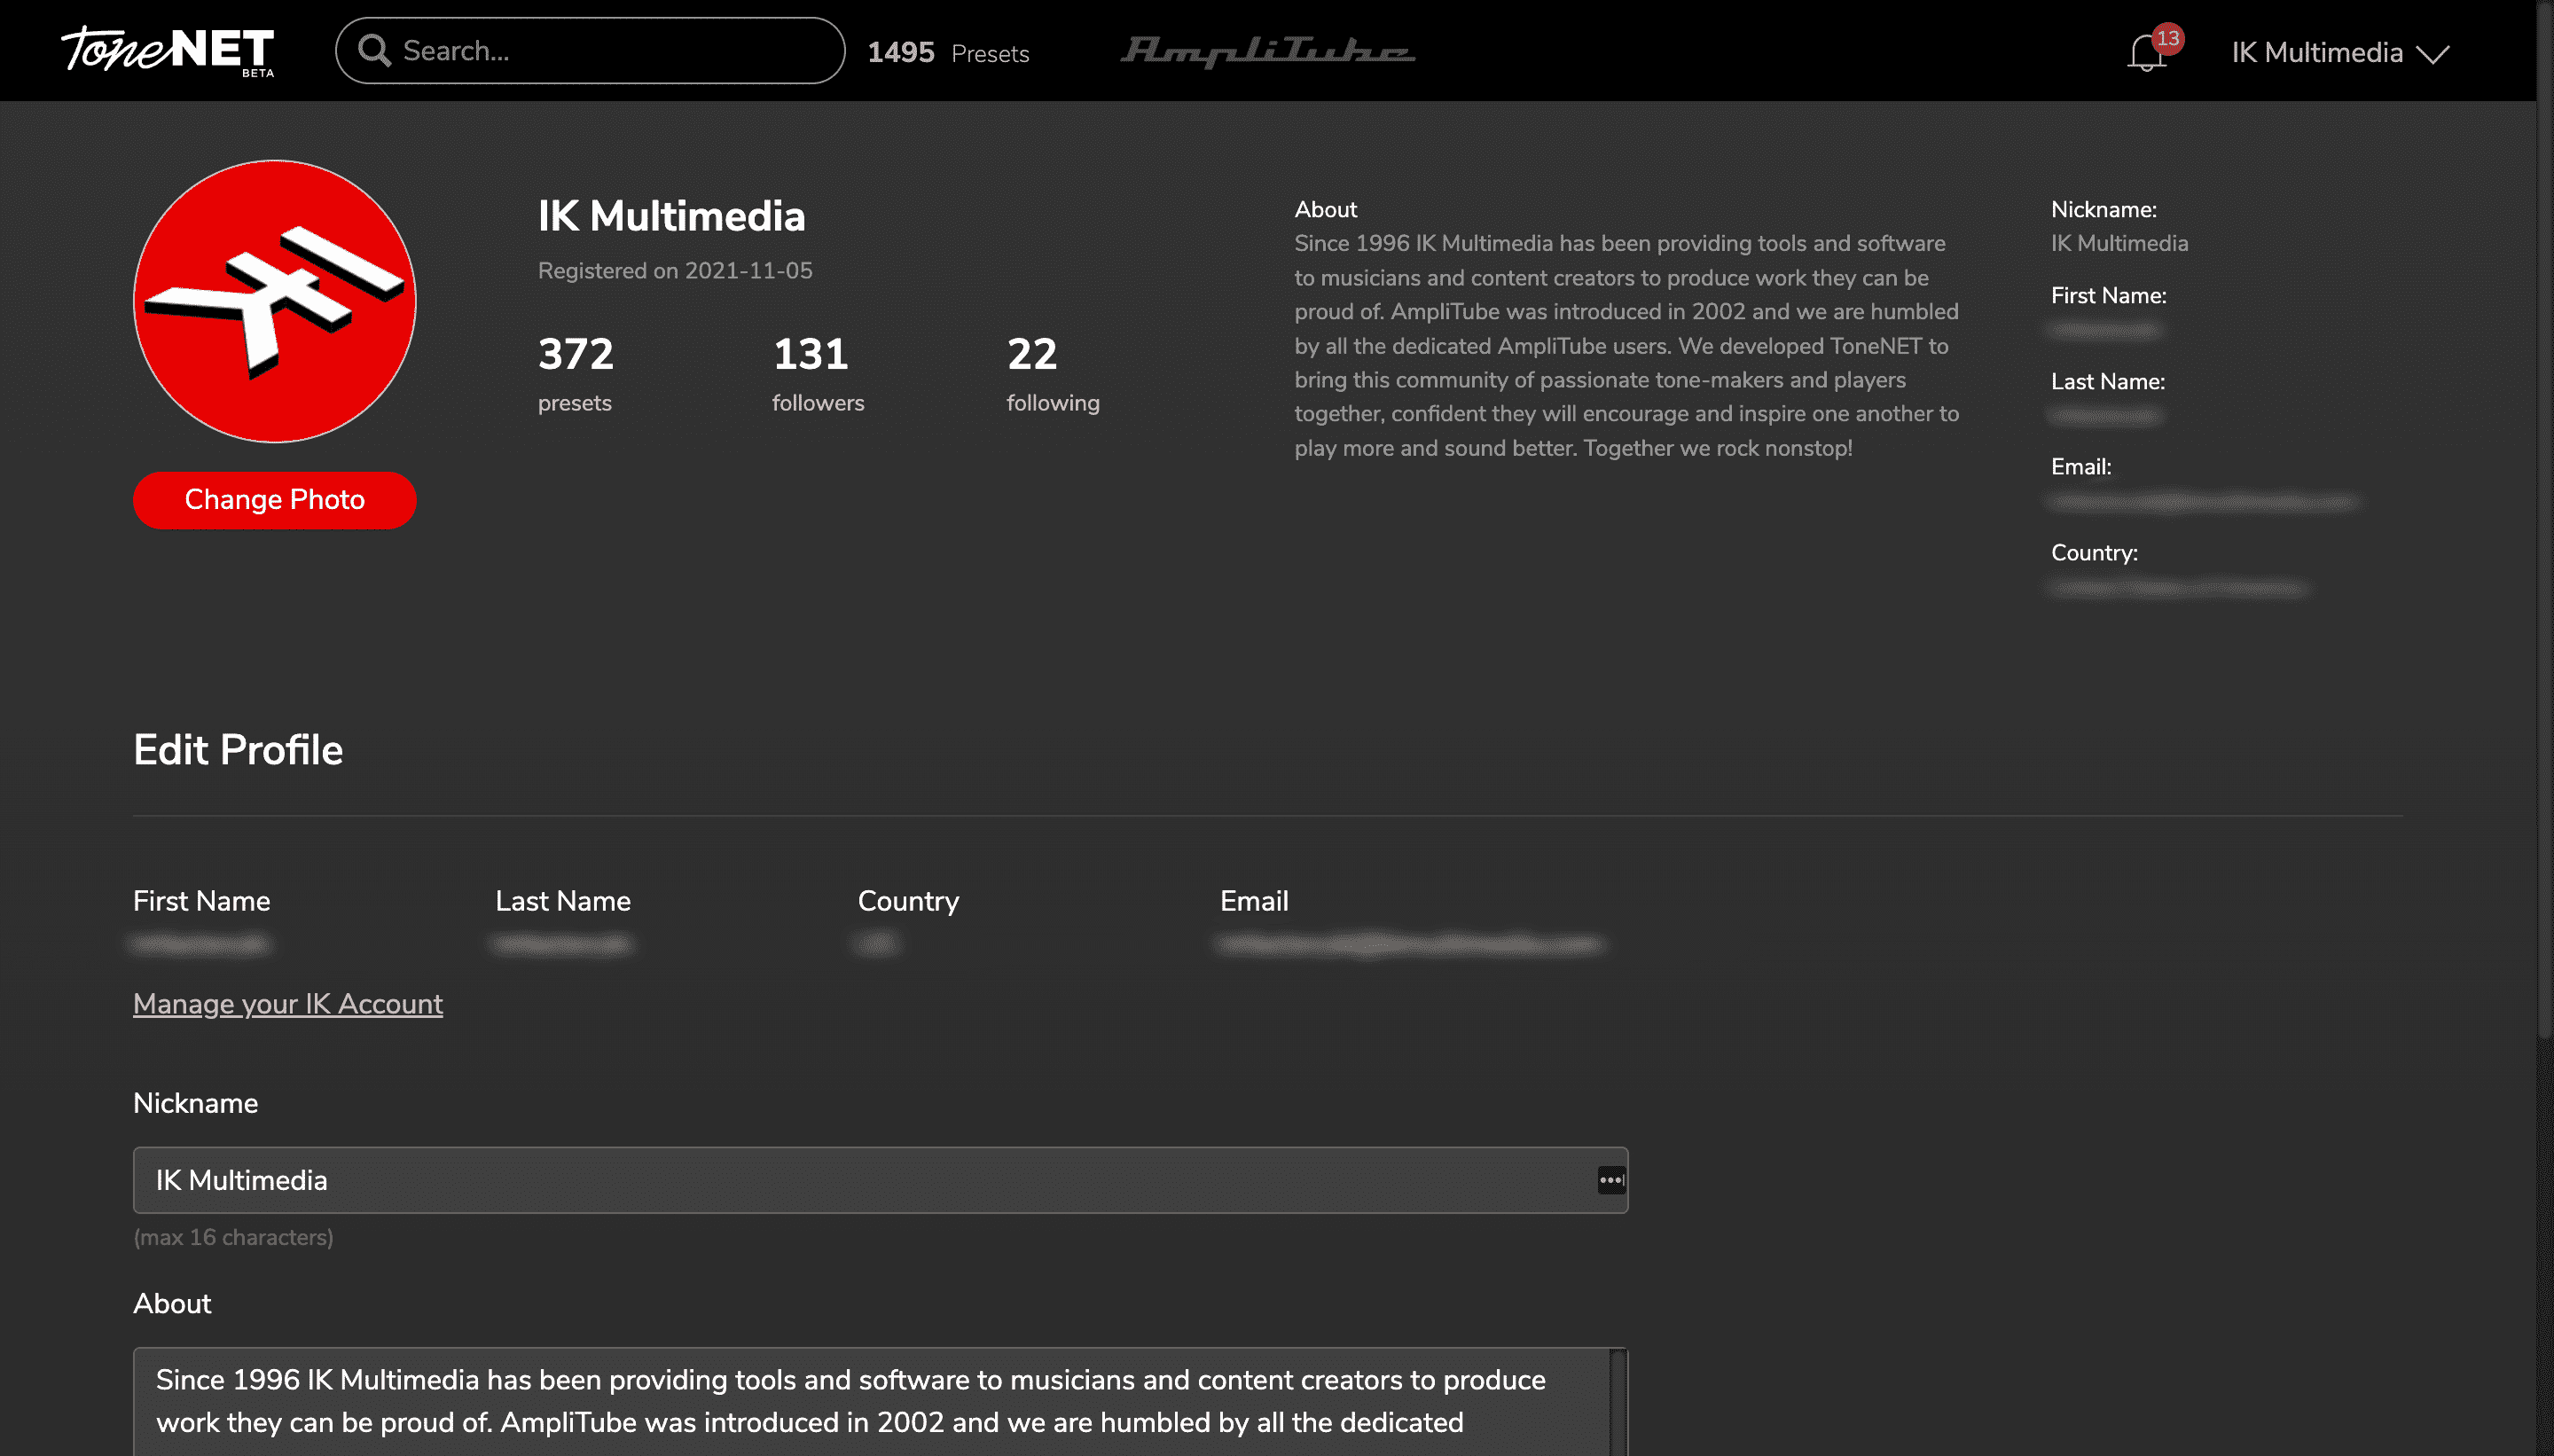
Click on Change Photo in order to upload an image or choose a profile icon.
3.4 Notification Center
Click on the bell icon positioned in the top bar to disclose the Notification Center menu. Every time a user likes one of your presets or you receive a new follower or comment, a new notification will appear here. New notifications will be marked with an orange dot on the right side.
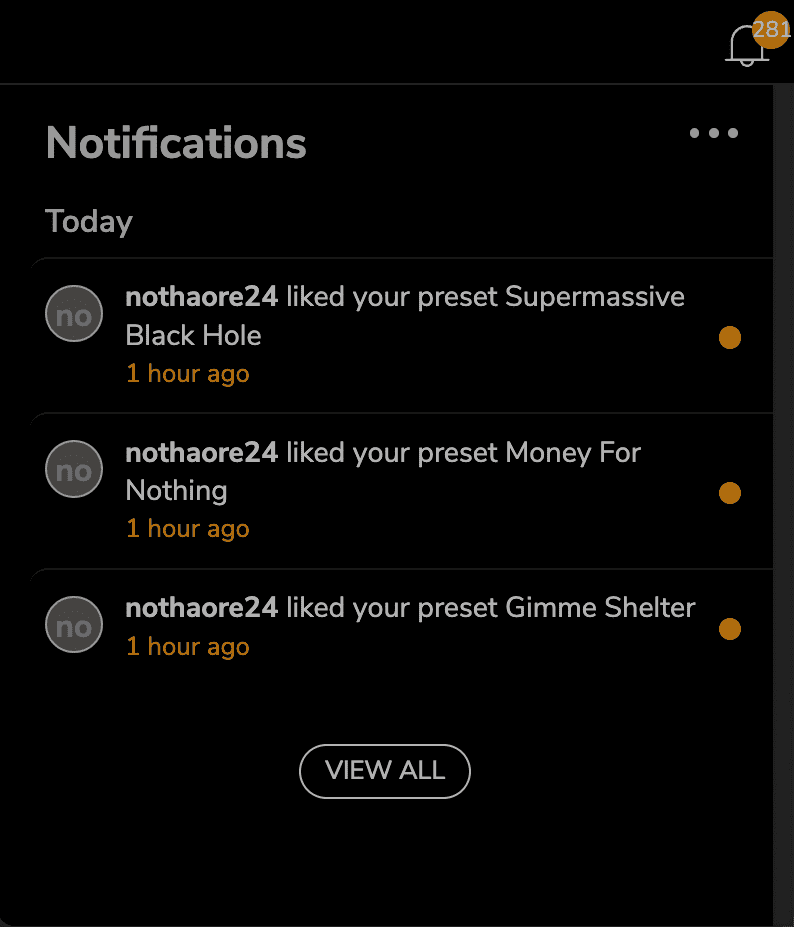
Click on the three-dot icon to display the settings.
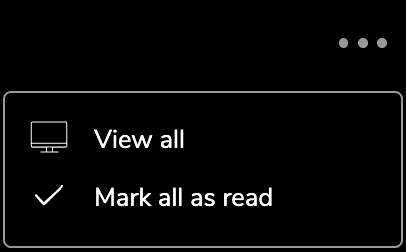
Click on “Mark all as read” to remove the orange dots on the unread notifications.
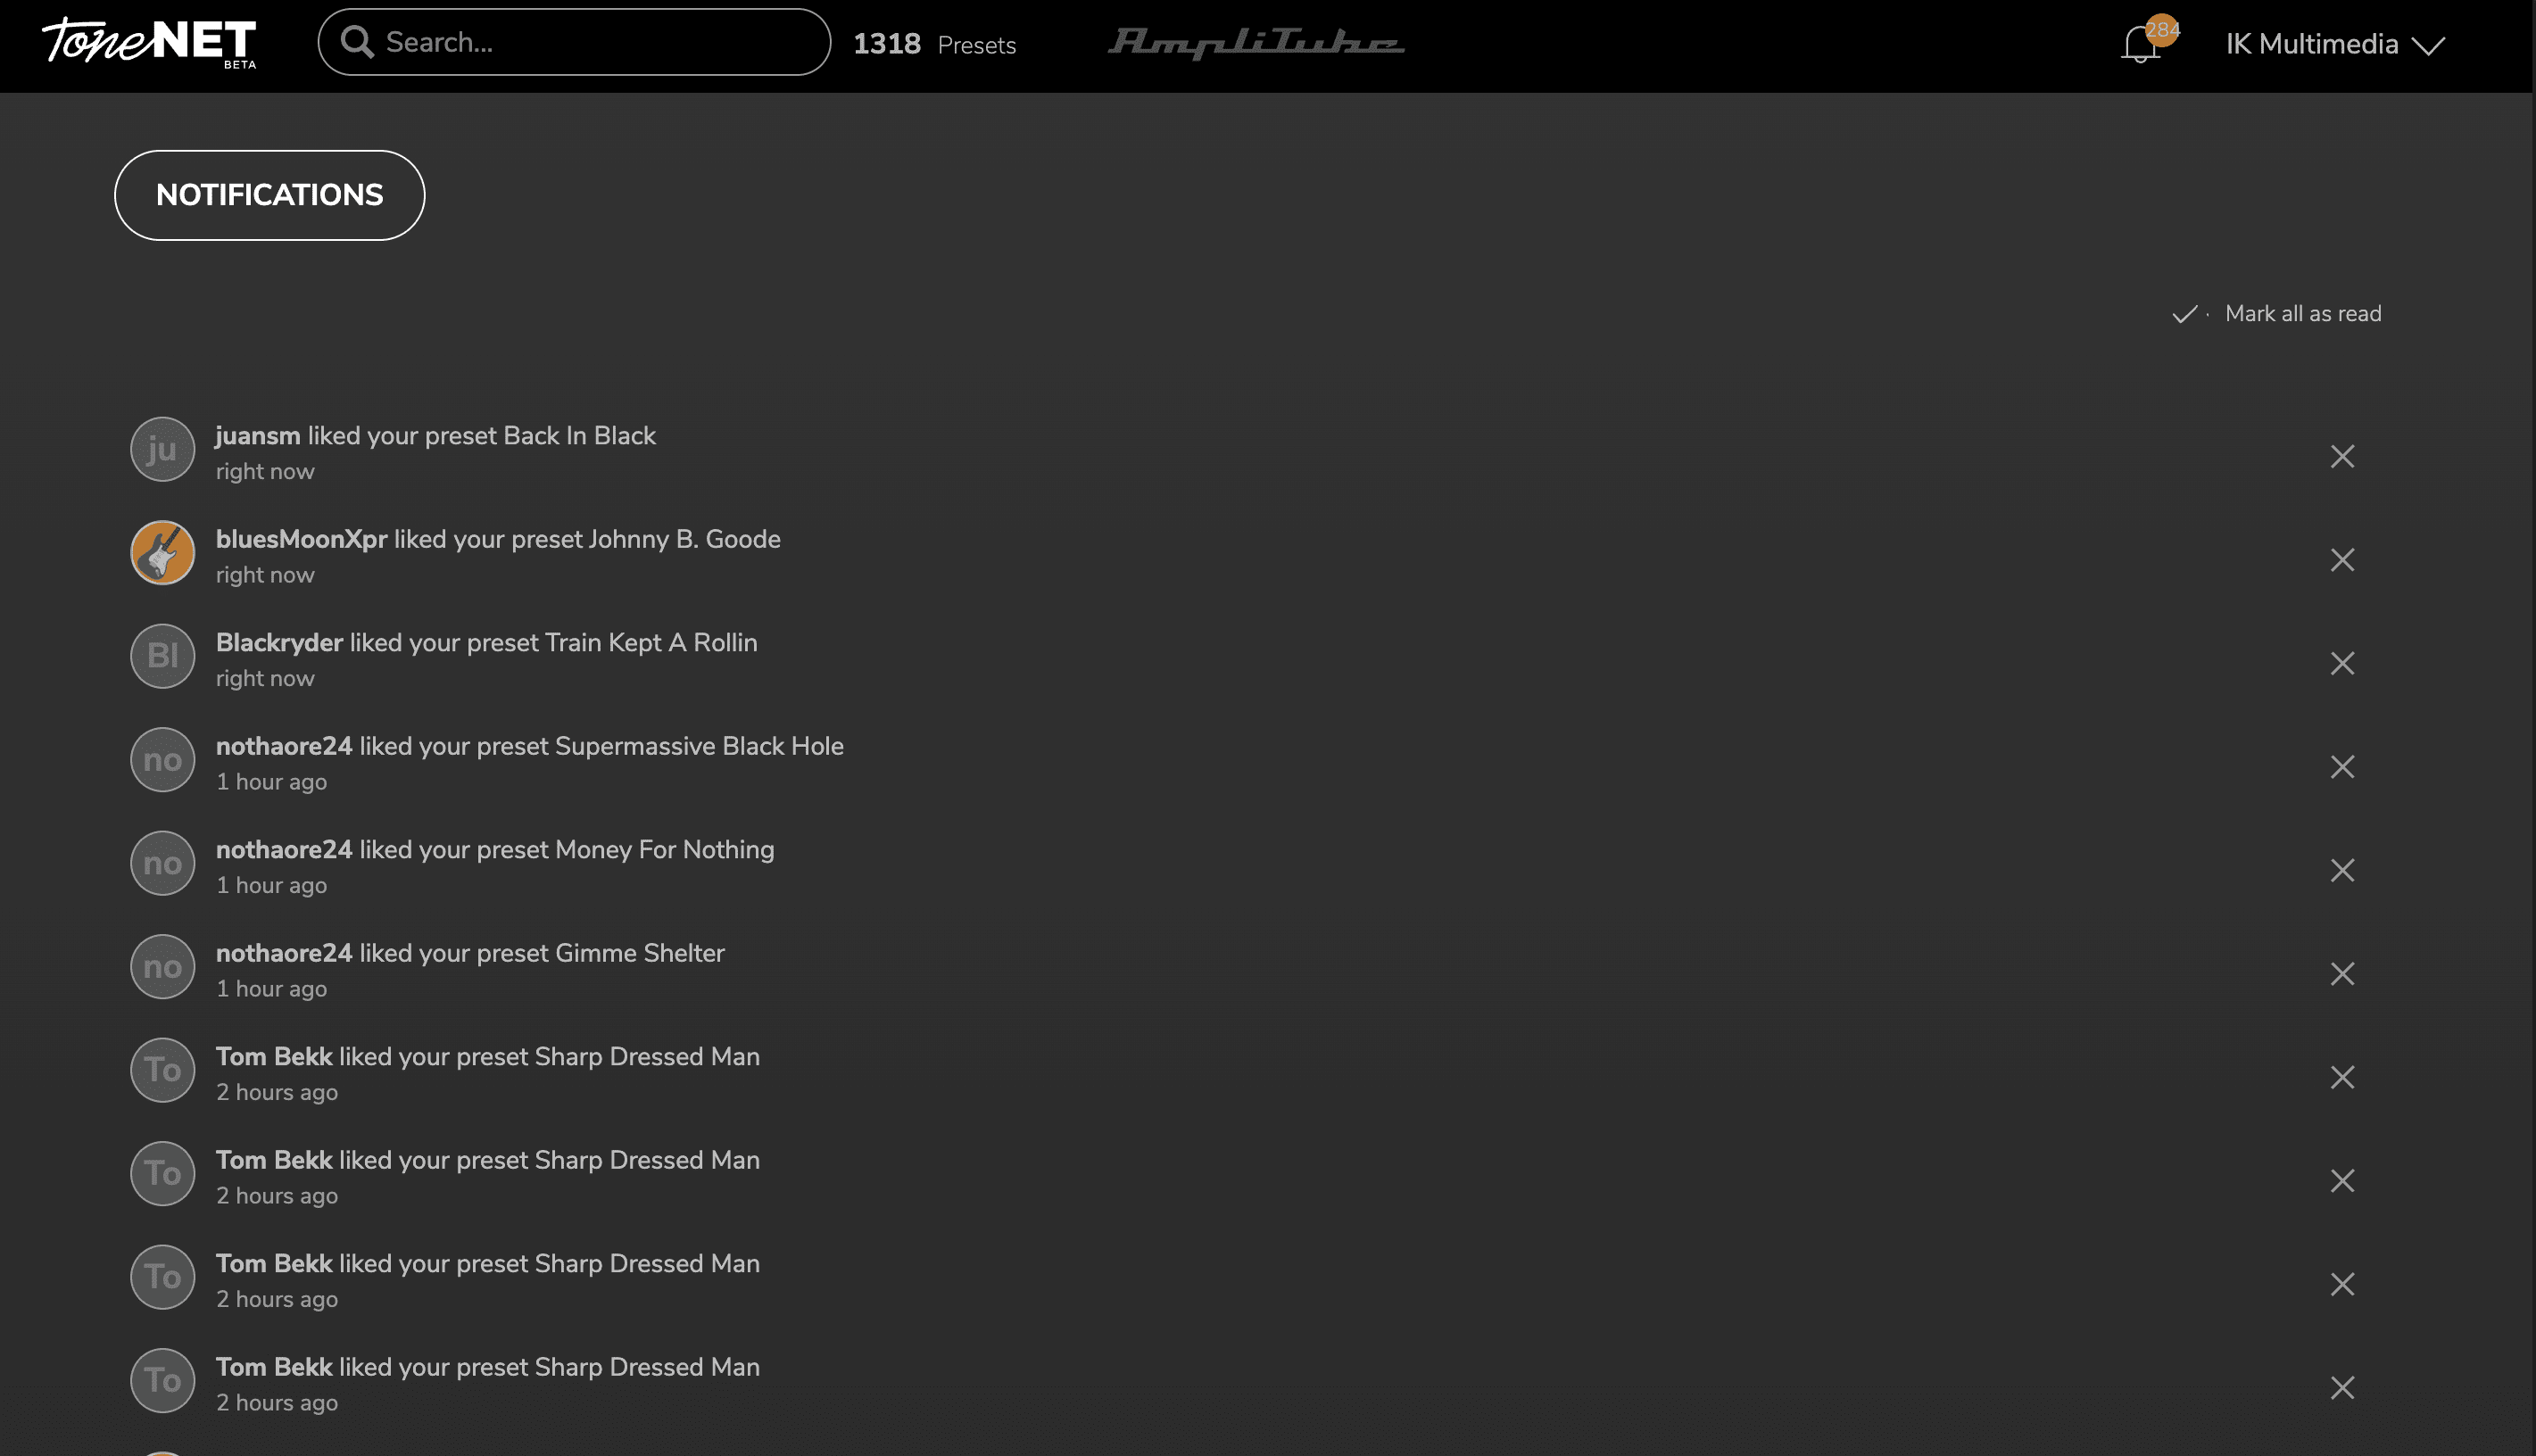
Click on View All to enlarge the Notification Center menu and open the dedicated page. Here you can choose to manually remove one or more notifications or mark all as read.
